Hyundai Venue: Front Suspension System / Rear Shock Absorber. Repair procedures
Hyundai Venue (QX) (2020-2025) Service Manual / Suspension System / Front Suspension System / Rear Shock Absorber. Repair procedures
| Removal |
| 1. |
Loosen the wheel nuts slightly.
Raise the vehicle, and make sure it is securely supported.
|
| 2. |
Remove the rear wheel and tire (A) from the rear hub.
|

| 3. |
Remove the rear shock absorber (A) from the body by loosening the bolt.
|
| 4. |
Loosen the bolt and then remove the rear shock absorber (A) from the
torsion beam axle.
|


| Disassembly |
| 1. |
Remove the lock nut cover (A).
|
| 2. |
Using the special tool (09546-3X100), install the self locking nut.
|

| 3. |
Separate the bracket assembly (A), bumper rubber (B), dust cover (C),
shock absorber (D).
|
| Inspection |
| 1. |
Check the rubber parts for damage or deterioration.
|
| 2. |
Check the shock absorber for abnormal resistance or unusual sounds.
|
| Disposal |
| 1. |
Fully extend the shock absorber rod.
|
| 2. |
Drill a hole to remove gas from the cylinder.
|

| Reassembly |
| 1. |
To reassembly, reverse the disassembly procedure.
|
| 2. |
Using SST(09546-3X100), install the lock nut.
|

| 3. |
Install the lock nut cover (A).
|

| Installation |
| 1. |
Install in the reverse order of removal.
|
 Rear Shock Absorber. Components and components location
Components
1. Rear shock absorber
2. Dust cover
3. Spacer
4. Bumper rubber
5. Bumper rubber cover
6. Insulator assembly
7...

Other information:
Hyundai Venue (QX) (2020-2025) Service Manual: Wheel. Repair procedures
Hub Nut Tightening Sequence Tighten the hub nuts as follows. Tightening torque : 107.9 - 127.5 N.m (11.0 - 13.0 kgf.m, 79.6 - 94.0 lb-ft) • When using an impact gun, final tightening torque should be checked using a torque wrench...
Hyundai Venue (QX) (2020-2025) Service Manual: Components and components location
..
Categories
- Manuals Home
- 1st Generation Venue Owners Manual
- 1st Generation Venue Service Manual
- Smart Key
- Electronic Stability Control (ESC)
- Warning and Indicator Lights
- New on site
- Most important about car
Seat Belt Warning Light
Seat belt warning light (for driver’s seat)
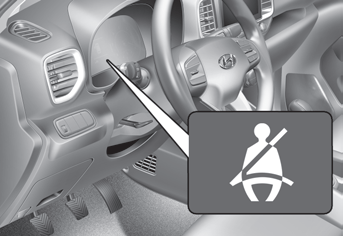
As a reminder to the driver, the seat belt warning light will illuminate for approximately 6 seconds each time you place the ignition switch to the ON position regardless of belt fastening. However, if the seat belt is unfasted, a warning chime will sound for approximately 6 seconds.

Copyright © 2025 www.hvenueqx.com