Hyundai Venue: Lighting System / Turn Signal Lamp. Repair procedures
Hyundai Venue (QX) (2020-2025) Service Manual / Body Electrical System / Lighting System / Turn Signal Lamp. Repair procedures
| REMOVAL |
Front Turn Signal Lamp
| 1. |
Disconnect the negative (-) battery terminal.
|
| 2. |
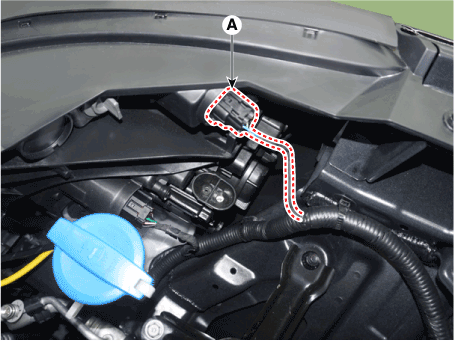
Disconnect the turn signal lamp connector (A).
|
| 3. |
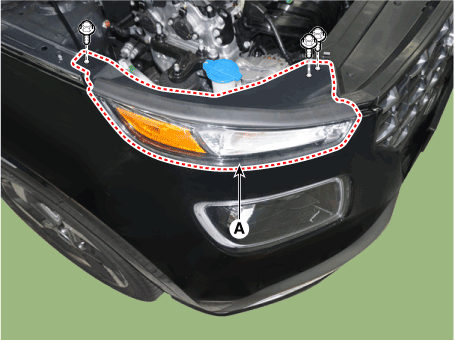
Remove the turn signal lamp (A) after loosening mounting bolts.
|
| 4. |
Replace the head lamp bulb after turning the bulb socket counterclockwise.
|
Door Mirror Side Repeater Lamp
| 1. |
Disconnect (-) battery terminal.
|
| 2. |
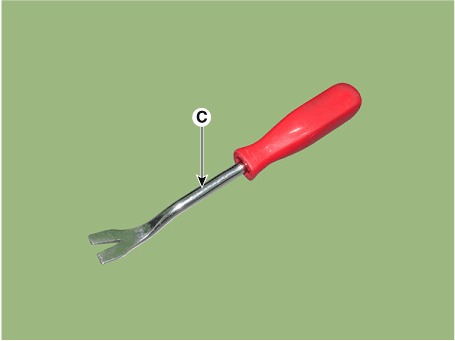
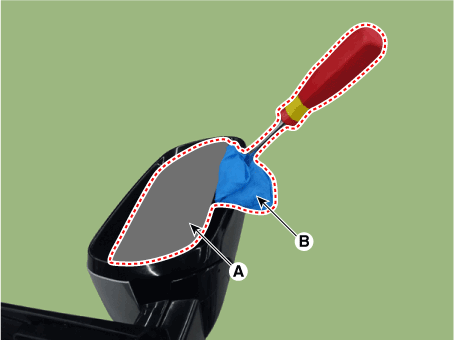
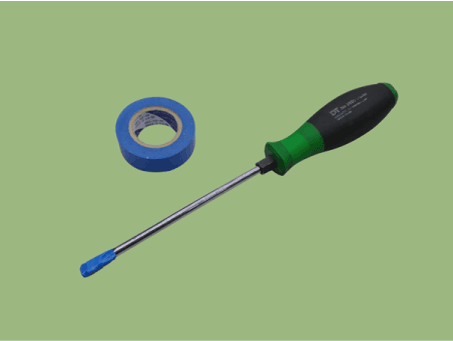
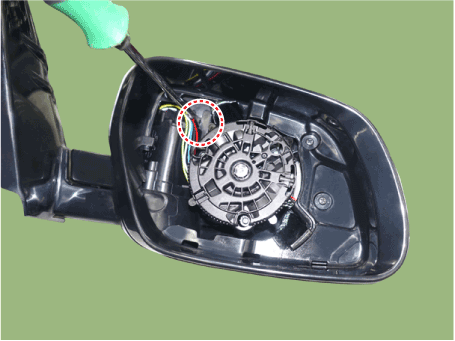
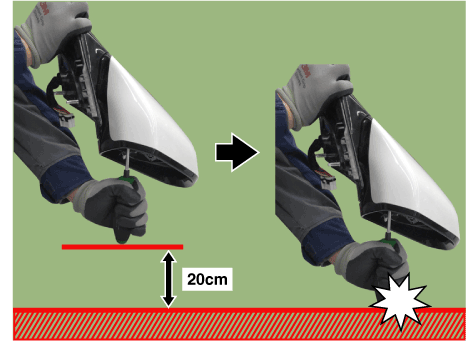
Using a fastener remover (C), remove the mirror (A) as illustration
below.
|
| 3. |
Remove the scalp.
|
| 4. |
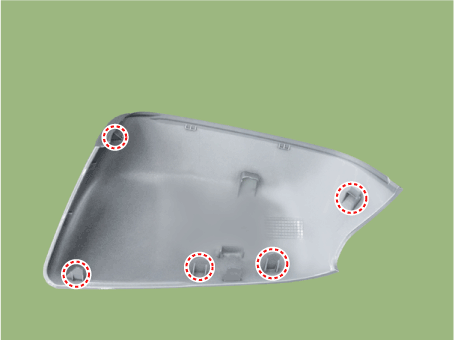
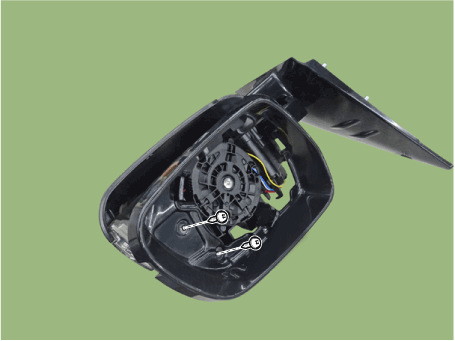
Remove the front housing cover.
|
| 5. |
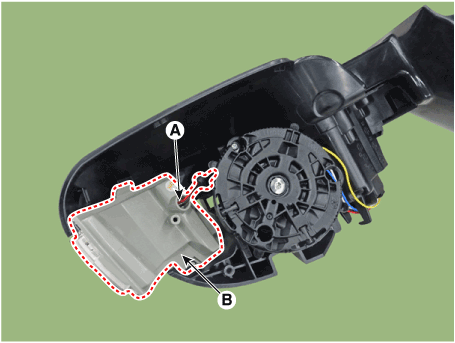
Disconnect the LED side repeater lamp connector (A) and then remove
the LED side repeater lamp (B).
|
| INSTALLATION |
Front Turn Signal Lamp
| 1. |
Connect the lamp connector after install the front turn signal lamp.
|
| 2. |
Connect the negative (-) battery terminal.
|
Door Mirror Side Repeater Lamp
| 1. |
Install the puddle lamp and LED side repeater lamp.
|
| 2. |
Install the front housing cover.
|
| 3. |
Install the scalp.
|
| 4. |
Install the door mirror assembly.
|
| 5. |
Connect (-) battery terminal then check if door mirror lamp works normally.
|
 Overhead Console Lamp. Repair procedures
Removal
1.
Disconnect the negative (-) battery terminal.
2.
Disconnect the overhead console lamp lense (A)...
 Hazard Lamp Switch. Repair procedures
Replacement
1.
Disconnect the negative (-) battery terminal.
2.
Remove the center fascia panel...
Other information:
Hyundai Venue (QX) (2020-2025) Service Manual: Blower Unit. Components and components location
Component Location 1. Blower unit assembly Component Location 1. Intake seal 2. Intake upper case 3. Intake actuator 4. Intake door 5. Intake lower case 6. Blower pad 7...
Hyundai Venue (QX) (2020-2025) Owners Manual: Before Driving
Before Entering the Vehicle Be sure all windows, outside mirror(s), and outside lights are clean and unobstructed. Remove frost, snow, or ice. Visually check the tires for uneven wear and damage. Check under the vehicle for any sign of leaks...
Categories
- Manuals Home
- 1st Generation Venue Owners Manual
- 1st Generation Venue Service Manual
- Check Tire Pressure
- Remote Key
- Type B, C
- New on site
- Most important about car
Vehicle Identification Number (vin), Vehicle Certification Label
Vehicle Identification Number (vin)
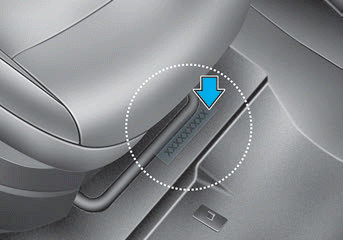
Frame number
Copyright © 2025 www.hvenueqx.com

